Saturday 18 April 2015

Caramel Squares


So perhaps you have some left over chocolate from all those Easter Eggs you got? No....?
I didn't think so. Nor do I. These are not for using up leftovers. These are just a little bit special.
I also call them the holy grail of my baking stash!
They take a little time, a little love and a little bit of waiting around but boy are they worth it in every aspect. I forgot how good a decent and fulfilling a caramel square can really be.
The chewy caramel, buttery shortbread and generous thick cold chocolate topping.

Complete Bliss.


Ingredients:
Shortbread Base:

  • 225g plain flour 
  • 2 teaspoons of cornflour 
  • 80g fine caster sugar 
  • 175g butter 
  • pinch of salt 


Caramel Layer

  • 1 tin of condensed milk 
  • 100g caster sugar 
  • 200g butter 
  • pinch of salt 


Chocolate topping

  • 400g good quality chocolate 


Method:
Begin my preheating the oven to 180℃.
Mix together the sugar, flour, cornflour and rub in the soft butter with your hands until it forms a soft crumbly dough.
Line a medium sized baking tray with non-stick greaseproof paper and press the biscuit base with your fingers into the tin. Bake in the hot oven for 20-25minutes until lightly golden.

For the caramel, place the butter, condensed milk, caster sugar and punch of salt into a good heavy based saucepan. Allow the sugar to dissolve gently. Boil the mixture for a good 5-10minutes until it changes to a thick luscious smooth caramel.
Once the biscuit layer is cooled pour over the caramel and smooth off with a spatula. Allow to set for 15minutes in the fridge.

Finally gently melt the chocolate in a bowl over barely simmering water. Do not let steam get into the chocolate as it will split.
Pour the smooth chocolate over the caramel layer and leave to set in the fridge ideally over night.

Chop up the next morning in even sized chunks and enjoy with a big mug of tea.
Bliss!


Wednesday 11 February 2015

Chunky Chocolate Banana Muffins


Do you ever just have one of those days when you need a chocolate hit?
Today was one of those....
Baking is one of the most therapeutic activities for me. It calms me down and reminds me exactly what it is I love doing.
These muffins are so moist and delicate and I absolutely loaded them with chocolate chips and even cut up chunks of extra chocolate for an added extra hit!!

So simple and delicious!

My advice is to enjoy them warm straight out of the oven with the chocolate melting and oozing...  

Ingredients:
90ml milk 
2 eggs 
150g butter (melted)
225g plain flour 
1 teaspoon of baking powder 
150g golden caster sugar 
150g plain chocolate chunks 
2 small bananas (mashed up)

Preheat the oven to 180℃ and arrange 12 paper cases into a muffin tin. 
In a small bowl, whisk the milk, eggs and melted butter together until combined. 
Sieve together the flour and baking powder into a separate bowl. Add the sugar and chocolate chips. 
Stir gently to combine gradually adding in the egg mixture but do not beat. Add the mashed bananas. 
Spoon into the paper cases and bake for 20minutes.  

Allow to stand for 5 minutes on a wire tray. 


Saturday 24 January 2015

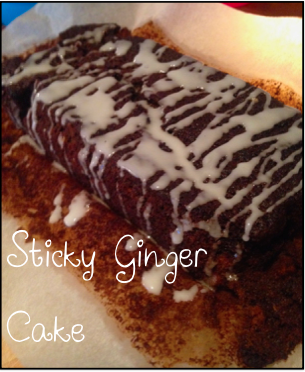
Sticky Ginger Cake with Lemon Drizzle


January is a long month. 
People are trying to be good, make up for all the boldness and extravagance of the previous weeks. The whole sugar-free great intentions tend to go a little over my head. 
For now I’ve adapted ever so slightly a recipe I watched being made on the ‘Afternoon Show’ on rte one. I’ve added in some chopped hazelnuts and almonds to give it some extra texture, bite and nutritional value.   
I must admit I was a little sceptical at first with this cake but boy was I pleasantly surprised at its mouthwatering taste, smooth nutty texture and warm comforting aroma. It is a rich dark coloured cake full of warming spices and packed full of healing ginger to give the immune system a good old boost this January. 


Sticky Ginger Cake with Lemon Drizzle 


Ingredients: 
225g self-raising flour 
1 tablespoon of ground ginger 
1 teaspoon of cinnamon
1 teaspoon of mixed spice 
115g butter 
115g dark muscovado sugar
115g treacle 
115g golden syrup 
250ml full fat milk 
85g grated fresh ginger 
1 egg 
75g chopped hazelnuts & almonds 

For the Drizzle 
50g icing sugar 
Zest of 1 lemon 
Juice of 1 lemon 


Method: 
Preheat the oven to 160℃. Grease or line a standard size loaf tin with butter. 

Gently melt the butter, brown sugar, treacle, golden syrup and milk in a heavy based saucepan until all the sugar is dissolved and the mixture is a nice smooth liquid.

Sieve the flour and spices into a mixing bowl and stir in the chopped nuts. Roughly grate the fresh ginger and add in along with the flour mixture. 

Pour the treacle mixture on top of the flour and stir using a wooden spoon. Add in the egg and continue to mix until evenly distributed.  

Pour the mixture into the greased tin and bake for up to 40minutes or until a skewer inserted comes out clean. 


To make the drizzle sieve the icing sugar into a bowl and grate in the zest of one lemon. Add the lemon juice and stir to make a thick smooth white drizzle. 

Once the cake is well cooled pour the drizzle over the top to create a zigzag design. 

This cake keeps for up to 4days due to the spices. 


It is the perfect little pick me up this January! 

Hope you enjoy! 


Saturday 8 November 2014

Tangy Lemon & Lime Curd Tartlets


It has been a while. 
I have neglected the blog for a few weeks. 
I'm on 'Survival Mode' and eating my way through September, October, November... Being back to work has been so hectic and as with life I don't often prioritise the important things that I enjoy and love doing which I need to change! 
It's time to get back to what I know and love best. 
The Kitchen and writing about it. 

These beauties featured are a little gem. I have meaning to make a batch of lemon curd for so long - I had it recently in a M&S cheesecake and my god. Speechless.   
These tartlets are not on the clean eating list or agenda nor anywhere near it. It is the season of comfort eating and well we'll come back to the healthy eating stuff again. Another time, another month. 

This curd lasts in the fridge for about a month of so. I have also used it and dolloped it on top of fresh scones and I'm working on a lemon and lime curd ice-cream - soon to be shared! 

To cut down on time and labour with these I made the lemon and lime curd a week in advance so it can be easier to prepare these quickly having it ready in the fridge. 

Anyways, I hope you enjoy them. 

Lemon & Lime Curd Ingredients: 
-Finely grated zest and juice of 2 limes
-Finely grated zest and juice of 3 lemons
-250g caster sugar
-125g butter, cut into small cubes
-4 large eggs, lightly beaten


Pastry ingredients: 
-250 g plain flour, plus extra for dusting
-50 g icing sugar
-125 g cold butter, cut into small cubes
-1 large free-range egg, beaten
-1 tablespoon of milk 


Fresh raspberries to decorate 


Method: 
To make the curd: 
Begin my sterilising one medium sized killiner jar in a hot preheated oven to 180℃. Place the jar on its side in the oven. Turn off the oven after 5minutes and leave them in the oven until the curd is ready.  
Zest the 3 lemons and 2 limes into a heatproof bowl. Add the juice from the lemons and limes and stir in the sugar and cubed butter. Place the bowl over a pan of barely simmering water.  Let the sugar dissolve and the butter melt gently over the low heat stirring occasionally. 
Next add the beaten eggs to the bowl and continue to cook, stirring constantly until the mixture thickens enough to coat the back of the spoon. 


You may have to wait up to 20minutes for the curd to thicken. Make sure you stir every few minutes to allow a smooth lump free curd. 
Remove the sterilised jars from the oven and pour in the curd. 
Put the lids on the jars and leave to cool completely before placing in the fridge to chill and fully set. 
This curd can be kept in the fridge for up to 1 month.


To make the Pastry: 
Sieve the flour and icing sugar into a bowl. Rub in the cold butter with your fingertips until it looks like breadcrumbs. Add in the beaten egg and a tablespoon of cold milk to form a smooth dough. Shape into a ball, wrap in cling film and chill in the fridge for 30minutes before rolling. 

Lightly flour the work surface and roll the chilled pastry to 1cm thick. Line the individual tartlet moulds. Prick the bottom of the pastry with a fork.  
Gently cover loosely with some greaseproof paper and fill with baking beans. Bake the pastry blind for 10minutes. Remove the pastry after 10minutes, remove the greaseproof paper and baking beans. Return to the oven for a further 5minutes to dry out. 

Let the pastry chill gently and fill each tartlet with a generous dollop of the lemon and lime curd. Decorate with fresh raspberries. 

Enjoy!   


Sunday 7 September 2014

Crunchy Granola


This recipe is inspired by my good pal Michelle who kindly supplied me with some Greek Yoghurt! I have been having such a hard time finding it in Dublin and she kindly shared some with me this week. I have been meaning to experiment with some granola for a long time and this is the perfect excuse! 
Granola is such a tasty snack however the shop bought ones are full of hidden sugar and salt. This one I think it very healthy and full of flavour from the toasted nuts, seeds and oats. It has a great combination of sweet and savoury crunch. 

The recipe below fills a 1.5kg Killiner Jar. 

Ingredients: 
225g rolled oats 
60g sunflower seeds 
60g pumpkin seeds 
80g crunchy linseed (I got mine in Lidl)  
60g flaked almonds 
60g pecans 
60g walnuts
50g desiccated coconut 
2 teaspoons of cinnamon 
1 teaspoon of ground ginger 
2 tablespoons of organic honey 
3 tablespoons of maple syrup 
2 tablespoons of sunflower oil 
Grated zest of one large orange 
100g of any dried fruit raisins / sultanas / dried cranberries / cherries 


Preheat the oven to 160℃. 

Mix everything together in a large bowl except the dried fruit raisins/sultanas. 
Spread the mixture onto a lined baking tray(s). 
Bake in the hot oven for up to 40minutes. Turn and toss the granola after 15-20minutes in the oven to evenly cook and toast the mixture. 
Once baked remove and leave to cool on the trays. If you add it to the container straight away the mixture will go soggy. 
Add in the dried fruits. I tossed in some dried cherries and cranberries into my batch. 
Store in a airtight container or Killiner jar for up to 2weeks. 


Enjoy with some Greek yoghurt for breakfast or an energising snack! 


Saturday 30 August 2014

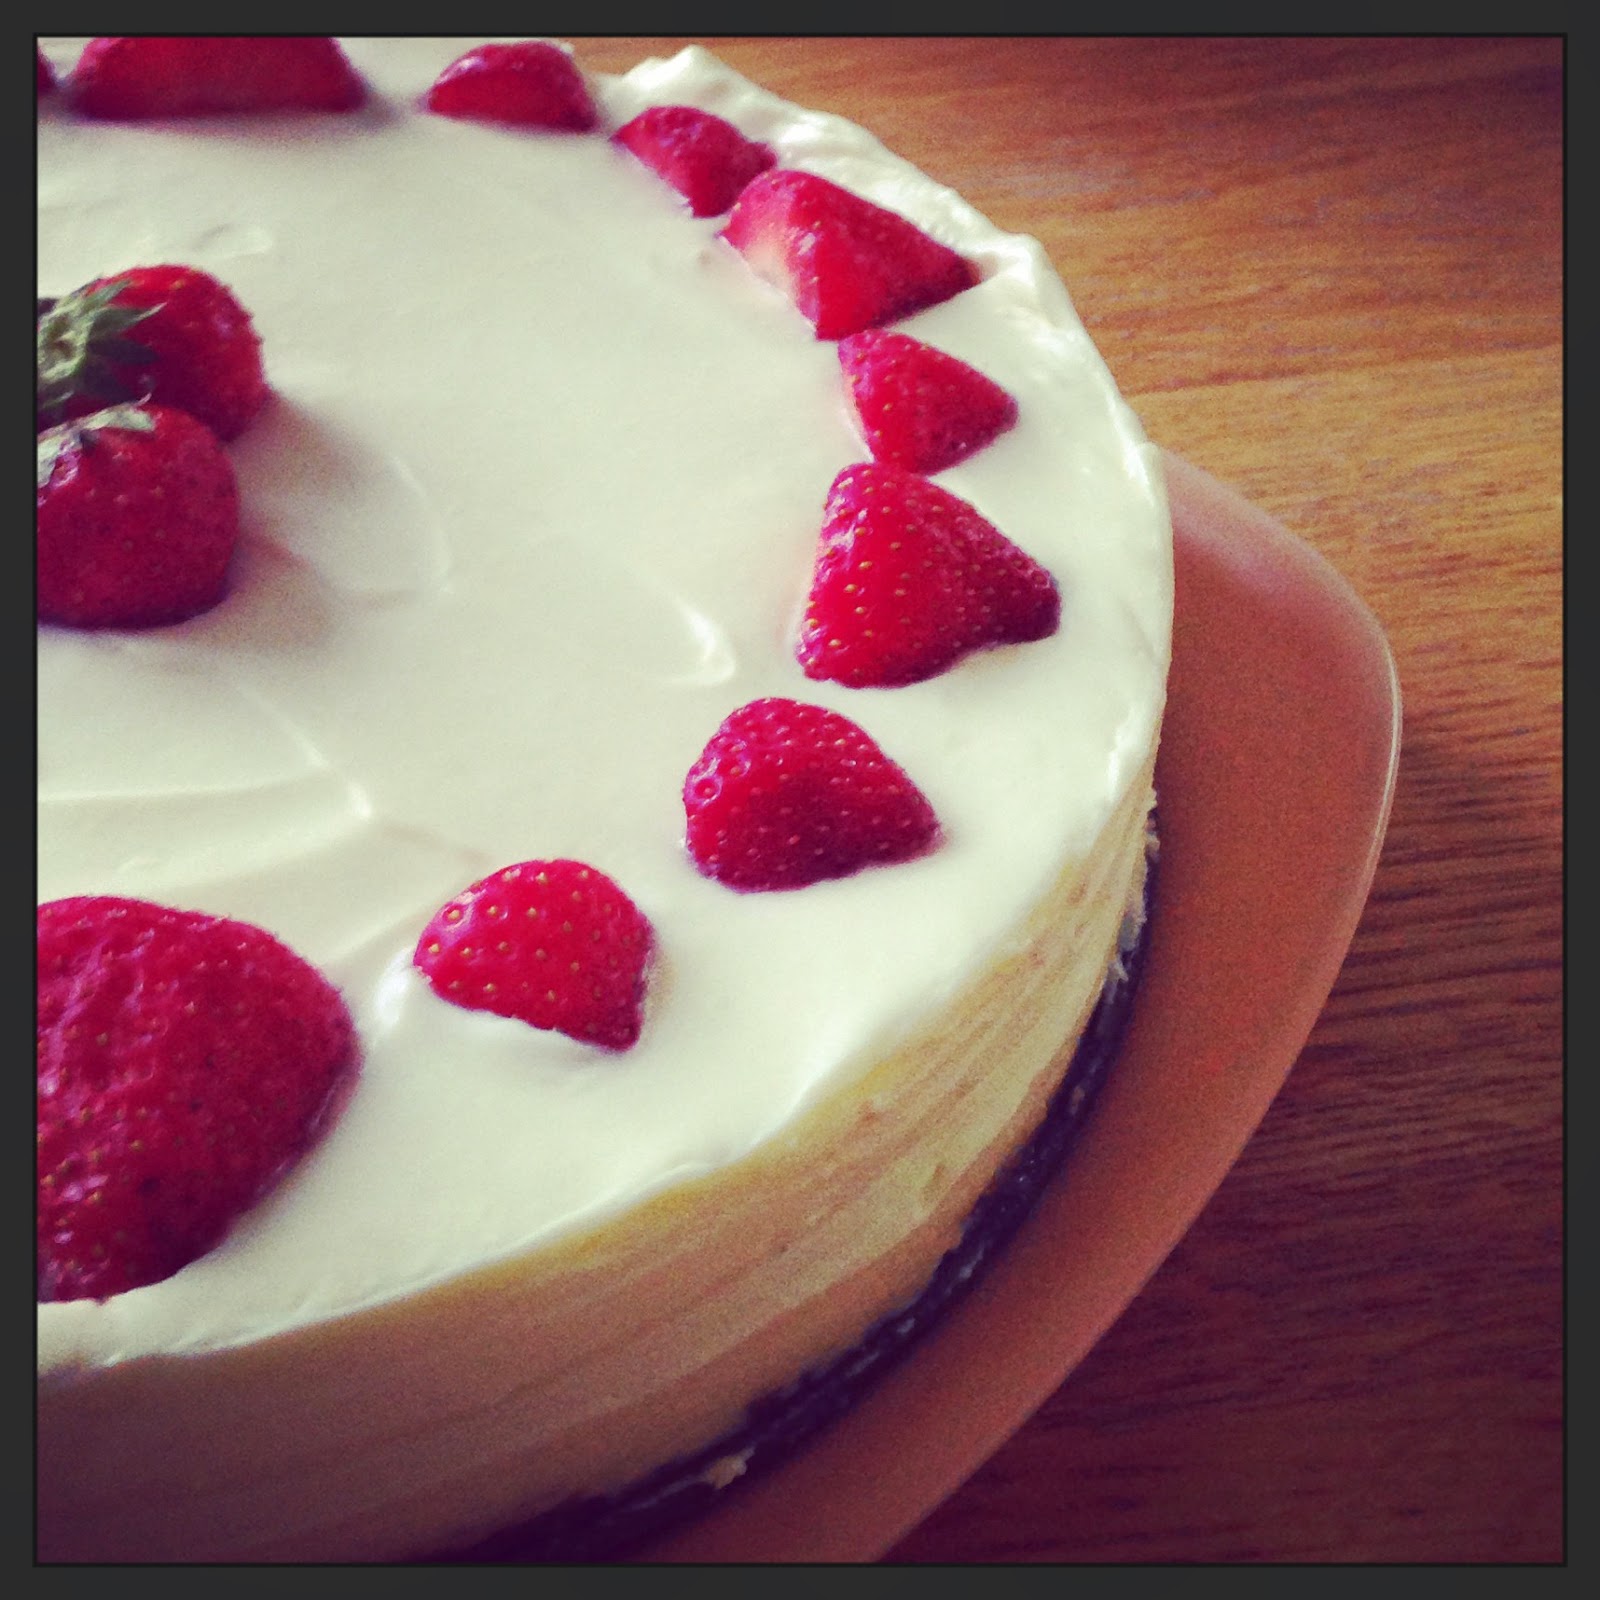
White Chocolate & Strawberry Cheesecake


This cheesecake is the absolute bomb! If I ever decide to sell my food and make a business this is my number one go to never fail me recipe. It really is such a great crowd pleaser. The combination of gingernut biscuits, white chocolate and strawberries work really well together. I have also previously used raspberries in this recipe but I think the strawberries are a winner winner! 

I actually have found myself occasionally dreaming about and woke up craving it all day! It's a great 'pick me up' dessert and will always give you a little lift when you need it. 
To me it’s like a big hug! 

For this recipe I use white chocolate from Aldi and I use 2 full bars. The chocolate is of a high quality and it really brings through the flavour and sweetness. I have also used large amounts of milky bar white buttons to make this cheesecake but you do need a lot to carry through the flavour and the Aldi block of white chocolate works better. 

Anyway enough praise for now, it’s time for you all to see for yourself! It has taken me sometime to actually share this on the blog and I think this may be something to do with the fact that it is very precious to me and it was/is my signature cheesecake. 

Hope you enjoy, feel free to leave a comment!  

Ingredients: 
Biscuit Base: 
30 ginger nut biscuits 
75g butter 
2 tablespoons of golden syrup 

Filling: 
500g Cream cheese 
125ml double cream 
400g white chocolate 
20 strawberries to decorate   


Begin by heating the oven to 160℃.  
In a saucepan melt together the butter and golden syrup. Next break up all the biscuits in the plastic food bag with a rolling pin. Once they are like fine breadcrumbs mix together with the melted butter and golden syrup. 
Press down and flatten into a cheesecake tin. Bake in the oven for no more than 10minutes. Be careful it doesn’t burn. You just want to let the biscuits harden and set.  Remove from the oven and leave to cool for a little while in the fridge before adding the filling. 

Next in a heat proof bowl over hot water melt all the white chocolate. Make sure the water in the base of the saucepan is not touching the base of the bowl as it will burn the chocolate. Leave to melt on a very low heat for 4-5minutes. Once melted remove from the heat and leave to chill slightly. 

In a mixing bowl beat the double cream for 3-4minutes until thickened. Add in the cream cheese and beat lightly until thoroughly mixed together. Pour in the melted white chocolate and mix gently to a smooth consistency. Pour the filling on top of the biscuit base. Smooth out the surface with a palette knife. Slice the strawberries in half and decorate as you wish inserting them gently into the filing. Leave to set for at least 12hours in the fridge. 

Enjoy


Friday 22 August 2014

Fruity Flapjacks


This recipe was passed along to me from another Home Economics teacher and after a few attempts I have managed to perfect them. You need to be generous with the tablespoon of golden syrup in the recipe and it is important to slice into the flapjacks once removed from the oven to allow them to harden into the desired shape. I also sometimes like to melt some dark and white chocolate and drizzle it over the top of them once cooled. I've kept this recipe to the original healthy version.  

Ingredients: 
125g butter 
1 large tablespoon of golden syrup 
100g Caster sugar 
75g plain flour 
250g oats 
pinch of salt 
1/4 teaspoon of bread soda 
1 tablespoon of mixed seeds (flaxseeds, sunflower seeds)
2 tablespoon of raisins, sultanas and dried cranberries  

Preheat the oven to 170℃. 
Melt the butter and golden syrup together in a pot over a gentle heat. Once melted remove and leave to cool for a few minutes. 
Weigh the dry ingredients and mix them all together in a bowl. 
Mix in the melted butter and syrup and stir to coat all the ingredients. 
Transfer to a lightly greased square tin. Press down the mixture with the back of a wet spatula and flatten. Bake in a hot oven for 15-20minutes. 
Remove from the oven and cut into slices immediately on removing from the oven. 
Leave the flapjacks to cool for at least 10minutes before removing the slices from the tin.

Enjoy for breakfast or as a tasty healthy snack.